How to Create an Archive & Batch
Audience: Archivists — people who own and manage a family archive in Zeuge.
In Zeuge, your content is organized in a two-level hierarchy: Archives contain Batches, and Batches contain Items (photos, documents, etc.). This guide walks you through creating both.
Understanding the Structure
| Level | What It Is | Example |
|---|---|---|
| Archive | A top-level container for a family or project | "The Johnson Family Archive" |
| Batch | A focused collection within an archive | "Mom & Dad's Wedding Photos" or "Grandpa's Army Slides" |
| Item | An individual photo or document inside a batch | A single scanned photo |
A typical workflow:
- Create an archive for your family or project.
- Create a batch for a specific set of photos you want contributors to comment on.
- Upload items into the batch.
- Invite contributors.
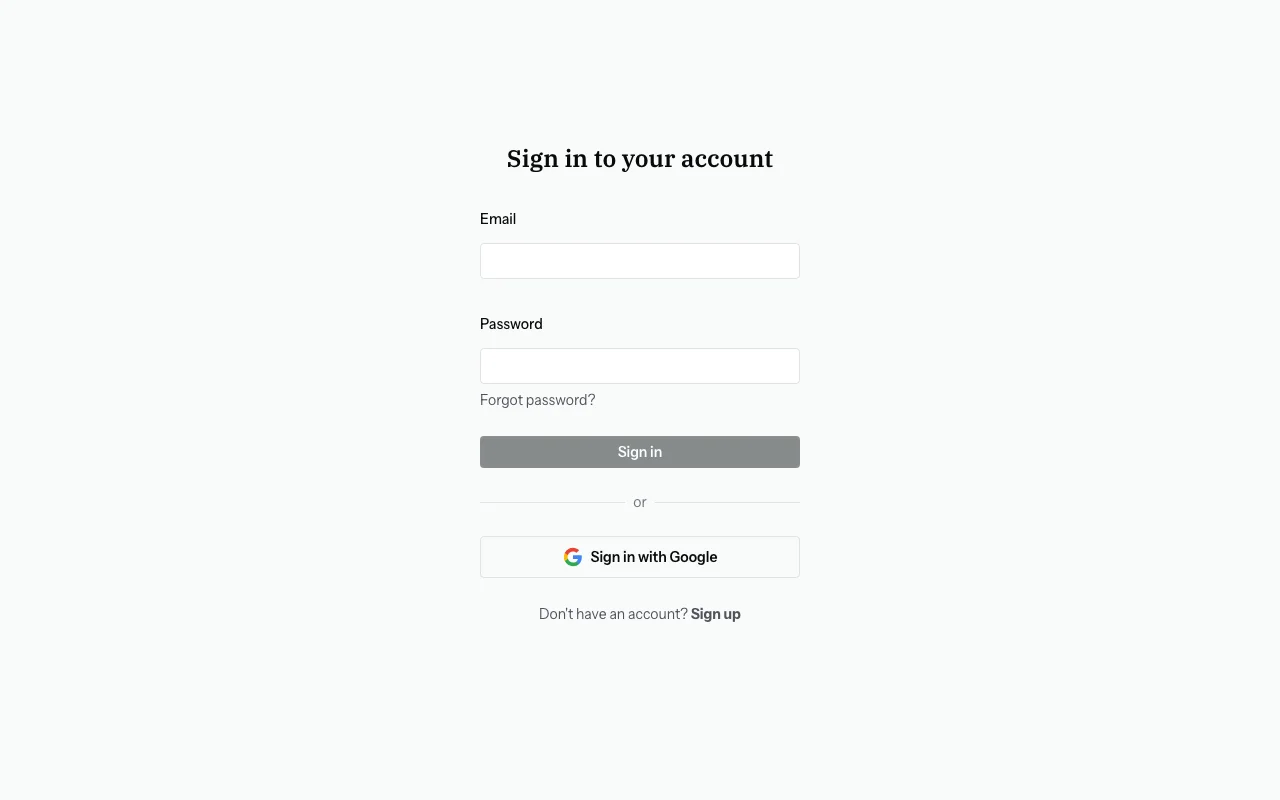
Step 1 — Sign In
Navigate to zeuge.io and sign in with your email and password (or Google account). If you don't have an account yet, click "Sign up" and follow the prompts.
Step 2 — Go to Your Dashboard
After signing in, you'll land on the Dashboard — an overview of your archives, active batches, and any responses being processed.

Step 3 — Create an Archive
If you don't have an archive yet:
- Click "New Archive" (found on the Archives page or from the dashboard).
- Enter an archive name (e.g., "The Johnson Family").
- Optionally, add a description (e.g., "Photos and documents collected from family members over several generations").
- Click "Create Archive".
Your new archive will now appear in the archives list. You can create up to the number of archives allowed by your subscription plan (see Subscription Tiers).
Step 4 — Open Your Archive
Click on your archive name to open it. You'll see a list of batches (empty for a brand-new archive).
Step 5 — Create a Batch
- Click "New Batch".
- Fill in the batch details:
- Title (required): A descriptive name for this group of photos — e.g., "Summer Vacations 1970–1985"
- Description (optional): Context for yourself and contributors — e.g., "These are all scanned from Mom's blue photo album"
- Prompt (optional): A personal note shown to contributors on their welcome screen — e.g., "Please share any names, dates, or stories you remember about these photos. Even partial details are really helpful!"
- Click "Create Batch".
Tip on Prompts: A well-crafted prompt dramatically increases the quality of contributor responses. Be specific about what you're looking for — names of people, approximate dates, locations, or any stories attached to events.
Step 6 — Your Batch Is Ready
After creating the batch, you'll be taken to the batch detail page. The batch will have a status of "Created" — meaning it exists but doesn't yet have items or contributors.
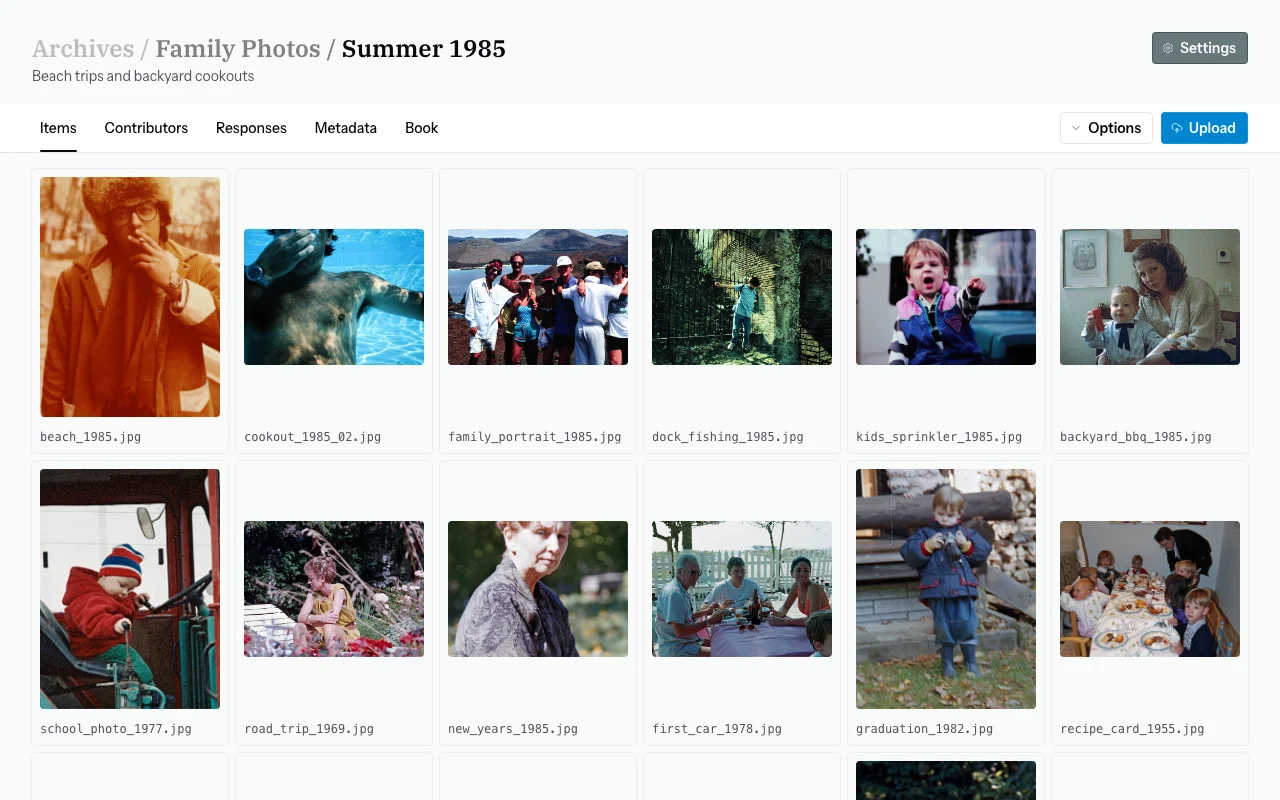
From here, you can:
- Upload items — add your photos
- Invite contributors — share the collection with family members
Managing Multiple Batches
You can have multiple batches per archive. For example:
- "Wedding Photos"
- "Baby Photos"
- "School Years"
- "Overseas Trip — 1978"
Each batch is self-contained — contributors are invited per batch, and responses are tracked per batch.
Common Questions
How many archives can I create?
That depends on your subscription plan. Free accounts can create 1 archive. Paid plans allow more. You can upgrade from the Settings page.
Can I rename an archive or batch after creating it?
Yes. On the archive or batch detail page, click the title to edit it inline.
Can I delete a batch?
Yes — from the batch detail page, look for the delete option. Note that deleting a batch permanently removes all items, responses, and extracted metadata associated with it. This cannot be undone.
What's the difference between a batch description and a prompt?
The description is context for you (the archivist) — it appears in your batch management view. The prompt is shown directly to contributors on their welcome screen. Use the prompt to give contributors specific guidance.