How to Upload Items
Audience: Archivists — people uploading photos and documents into a Zeuge batch.
"Items" are the individual photos, documents, or images that contributors will respond to. This guide covers uploading, reviewing, and reordering items in your batch.
Supported File Types
Zeuge accepts any standard image format:
- JPEG / JPG
- PNG
- WebP
- TIFF (for scanned documents)
- HEIC / HEIF (from modern iPhones)
- DNG, NEF, CR2, ARW (camera RAW formats)
Maximum file size: 50 MB per file.
Step 1 — Open the Items Tab
From your batch detail page, click the "Items" tab.
Step 2 — Upload Your Photos
You have two ways to add items:
Option A: Drag and Drop
Drag a folder or selection of files from your computer directly onto the items area. A drop zone will highlight to confirm.
Option B: Click to Browse
Click the "Upload" button (or click anywhere in the empty upload zone) to open a file browser. Select one or more files and click "Open."
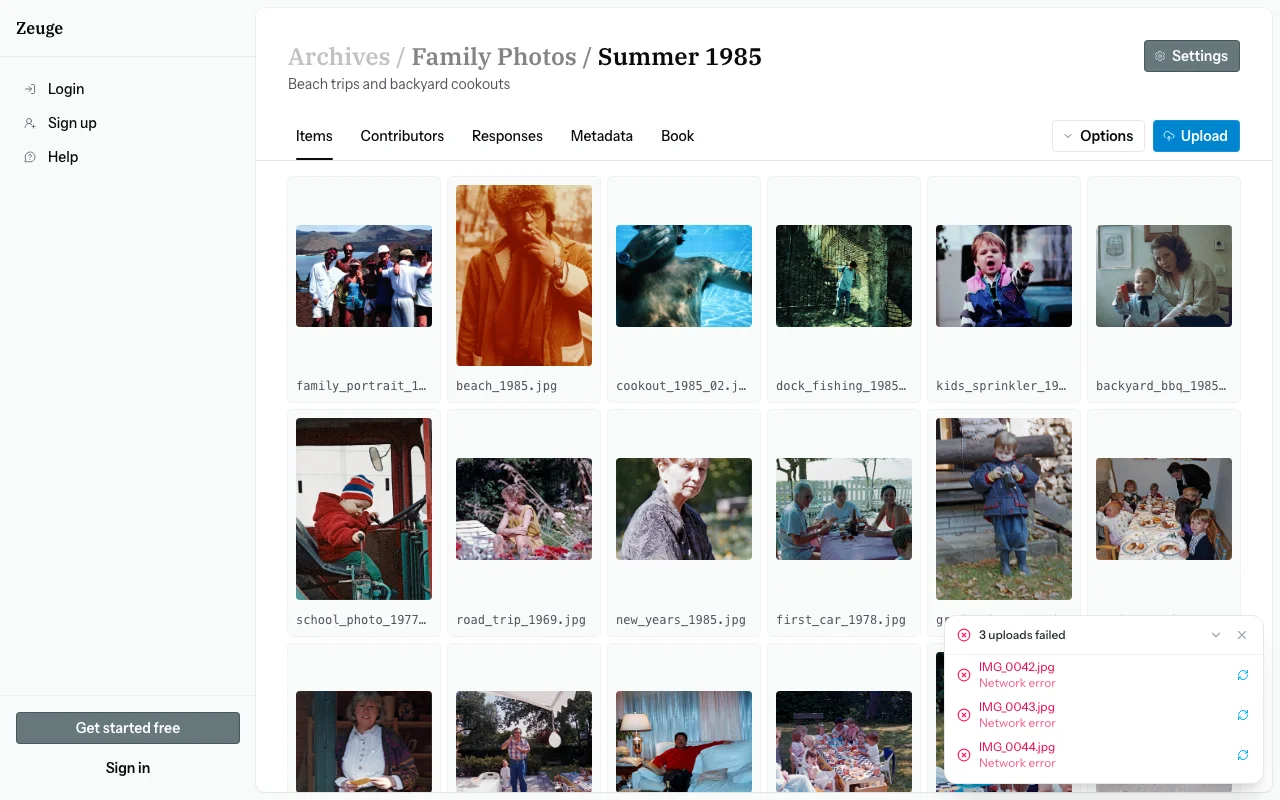
Step 3 — Watch the Upload Progress
As your files upload, you'll see progress indicators for each item. Large batches of high-resolution photos may take a few minutes depending on your internet connection.
While uploading, Zeuge automatically:
- Resizes the image to an optimized web copy (max 2400px) and a thumbnail (max 600px) for fast loading.
- Preserves the original file in full resolution for archival purposes.
- Reads EXIF metadata from the file — including the camera used, date/time taken, and GPS coordinates (if present). This data is stored and can inform the metadata extraction process later.
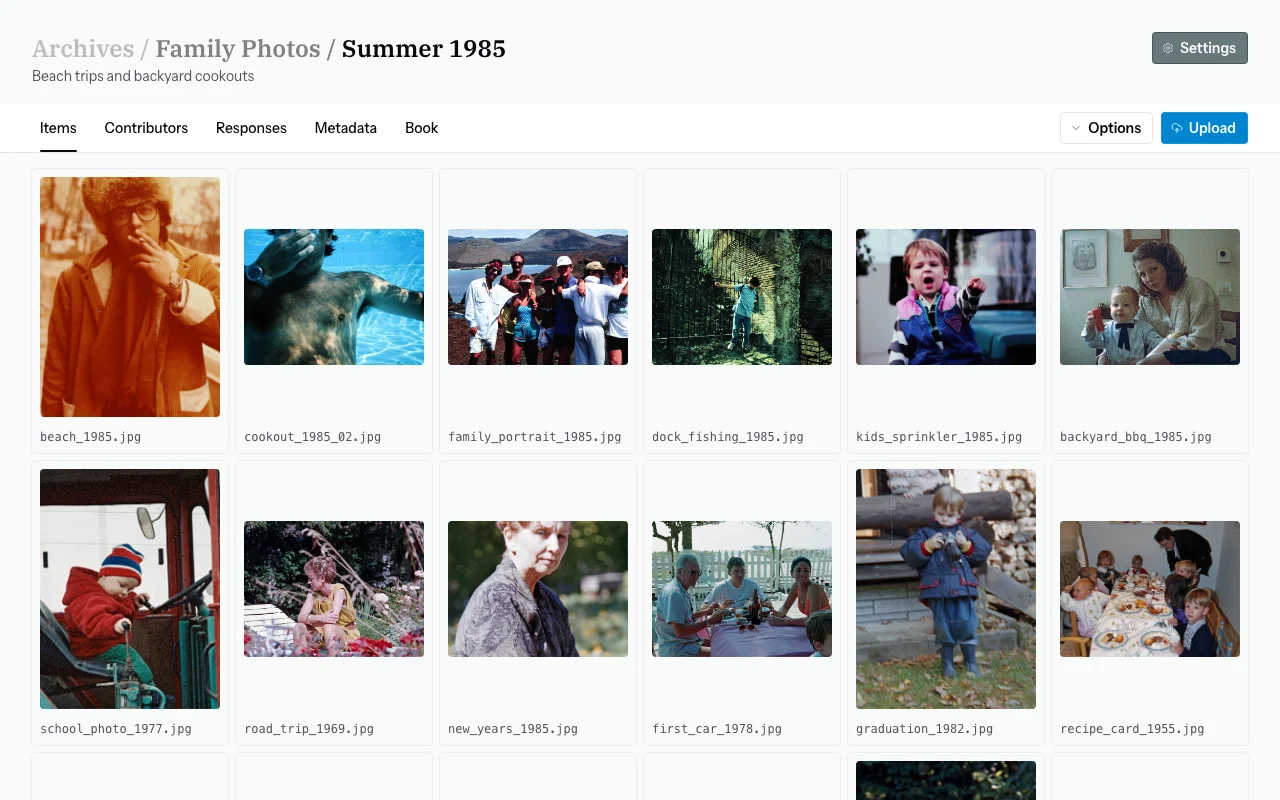
Step 4 — Review Your Items
Once uploading is complete, your items appear as a grid of thumbnails.
Change Grid Size
Use Options → Grid size to switch between Small, Medium, and Large thumbnails.
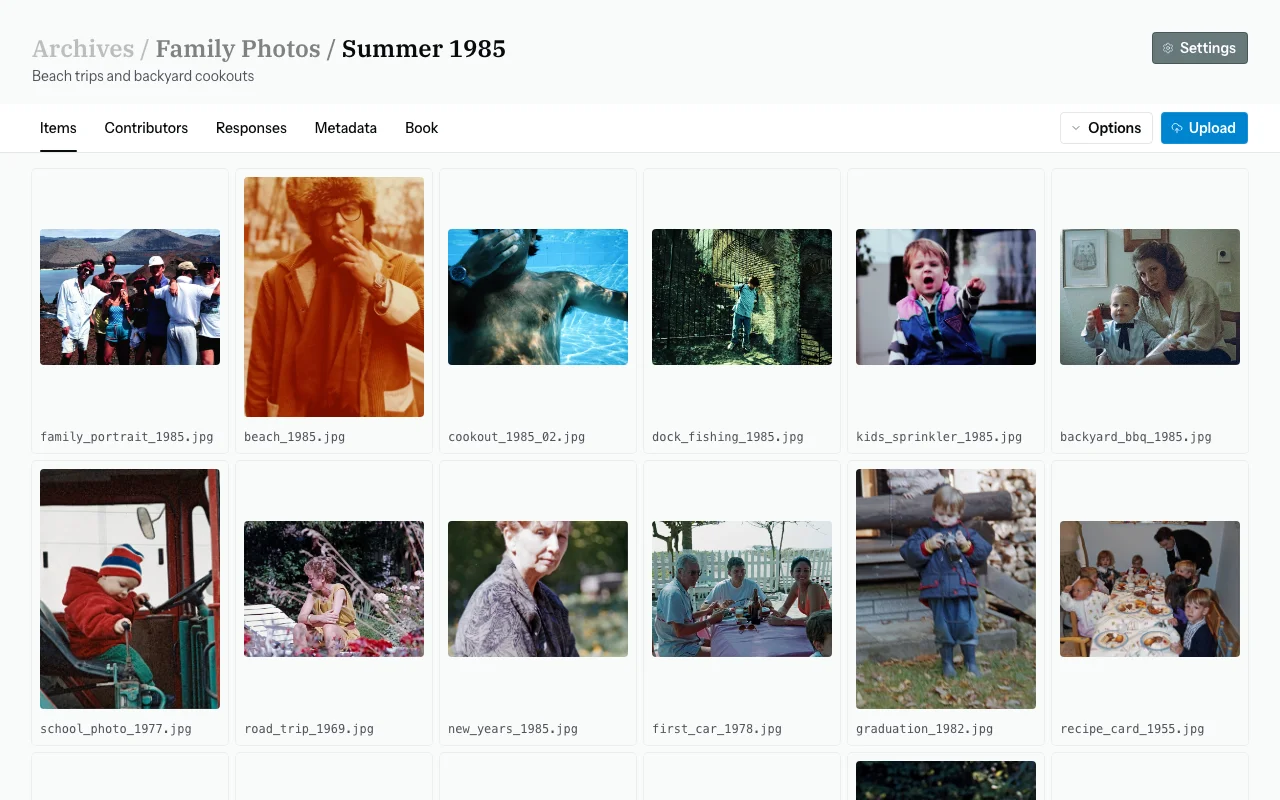
Step 5 — Reorder Items
The order of items in the grid determines the order contributors see them in the photo carousel.
To reorder: Drag and drop items within the grid using the drag handle on each cell.
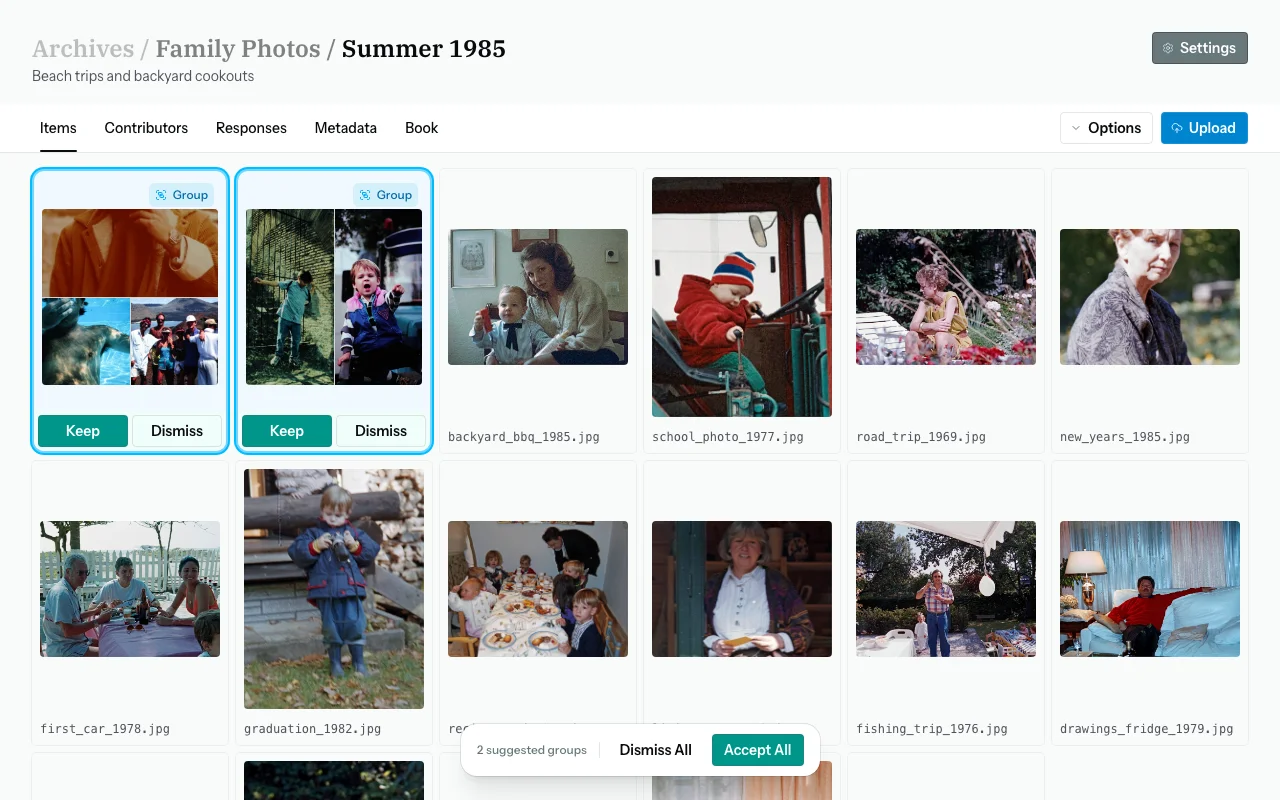
Tip: Grouping related photos together (e.g., all photos from one event) encourages contributors to make single recordings that cover an entire event.
Step 6 — Select & Bulk-Act on Items
Click any thumbnail to select it. Selected items are highlighted. A floating bar appears at the bottom of the screen with bulk actions:
- Rotate CW — rotate all selected items 90° clockwise
- Delete — permanently delete selected items (confirmation required)
Click × in the bar or click an empty area to deselect.
Step 7 — Delete an Individual Item
Hover over an item thumbnail and click the trash icon that appears, or select it and use the bulk Delete action.
Note: Deleting an item also removes any responses and extracted metadata linked to it. This cannot be undone.
Uploading in Multiple Sessions
You can upload items at any time — even after you've already invited contributors. New items will appear at the end of the contributor's carousel on their next visit.
Item Limits by Plan
| Plan | Max Items Per Batch |
|---|---|
| Free | 50 |
| Small | 300 |
| Medium | 1,000 |
| Large | Unlimited |
You can see your current plan on the Settings page.
Common Questions
My photos are uploading very slowly. What can I do?
Large files (e.g., 30–50 MB RAW scans) take time. For faster uploads, consider exporting images at a slightly lower resolution (e.g., 4000×3000 px, JPEG quality 90) without sacrificing archival quality. Alternatively, upload in smaller batches.
Zeuge is showing a "file type not supported" error.
Make sure your file is one of the supported formats listed above. If you're trying to upload a PDF or video file, those are not currently supported as items.
Can I upload photos from my phone directly?
Yes. Open Zeuge in your phone's browser and use the file picker to select photos from your camera roll.
Will Zeuge use the photo's date in EXIF for the metadata?
Yes — if a photo has an EXIF date, it will be extracted and stored. Contributors' verbal or written dates are compared against this during the metadata review process.
I uploaded the wrong version of a photo. Can I replace it?
Currently, you must delete the item and re-upload the correct version. The new item will appear at the end of the list, where you can drag it to the correct position.