How to Record Voice Memories
Audience: Contributors — family members or friends invited to share memories about a photo collection.
Voice narration is the easiest way to contribute. You simply talk about each photo while it is shown to you — like leaving a voicemail for the family archive. Zeuge writes down what you say automatically.
Before You Start
- You need a microphone. The built-in microphone on a smartphone or laptop works perfectly.
- Find a quiet place where you can speak comfortably.
- Your browser will ask for microphone permission — the app will guide you.
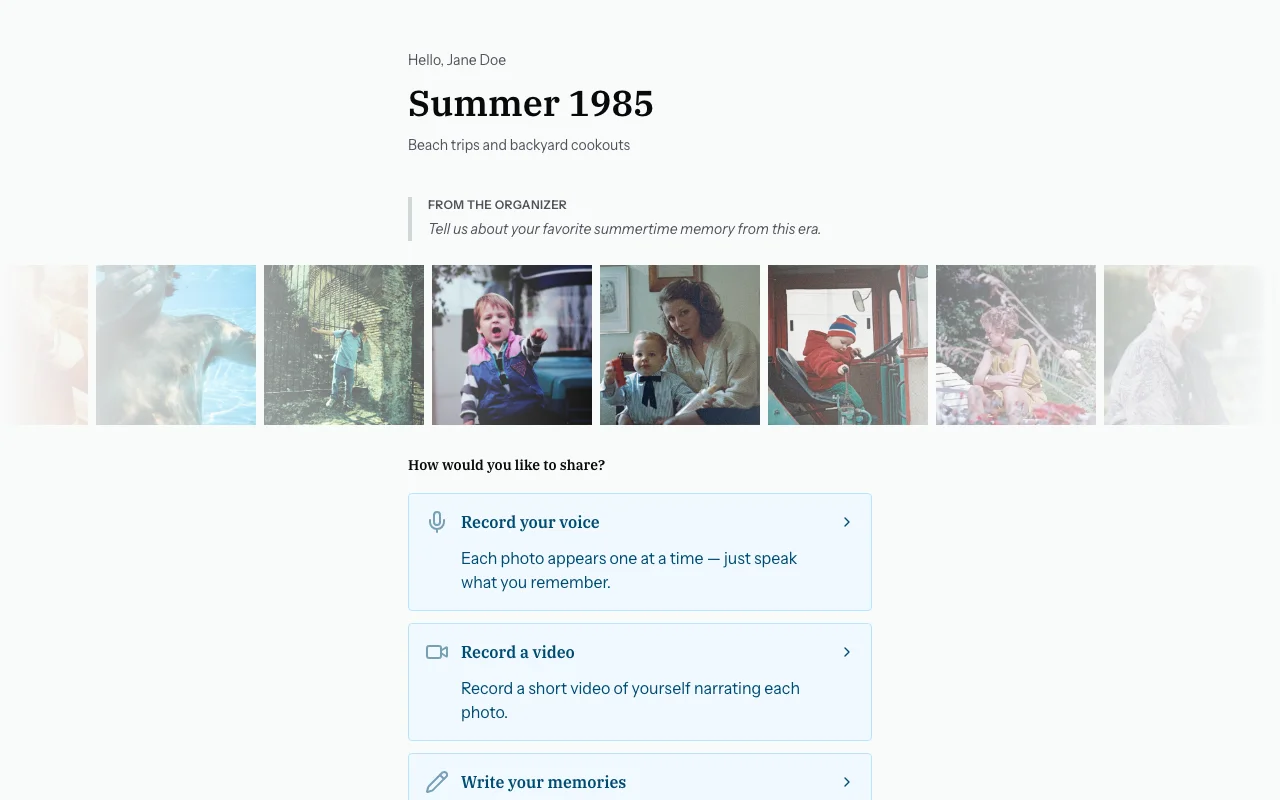
Step 1 — Tap "Voice Narration" on the Welcome Screen
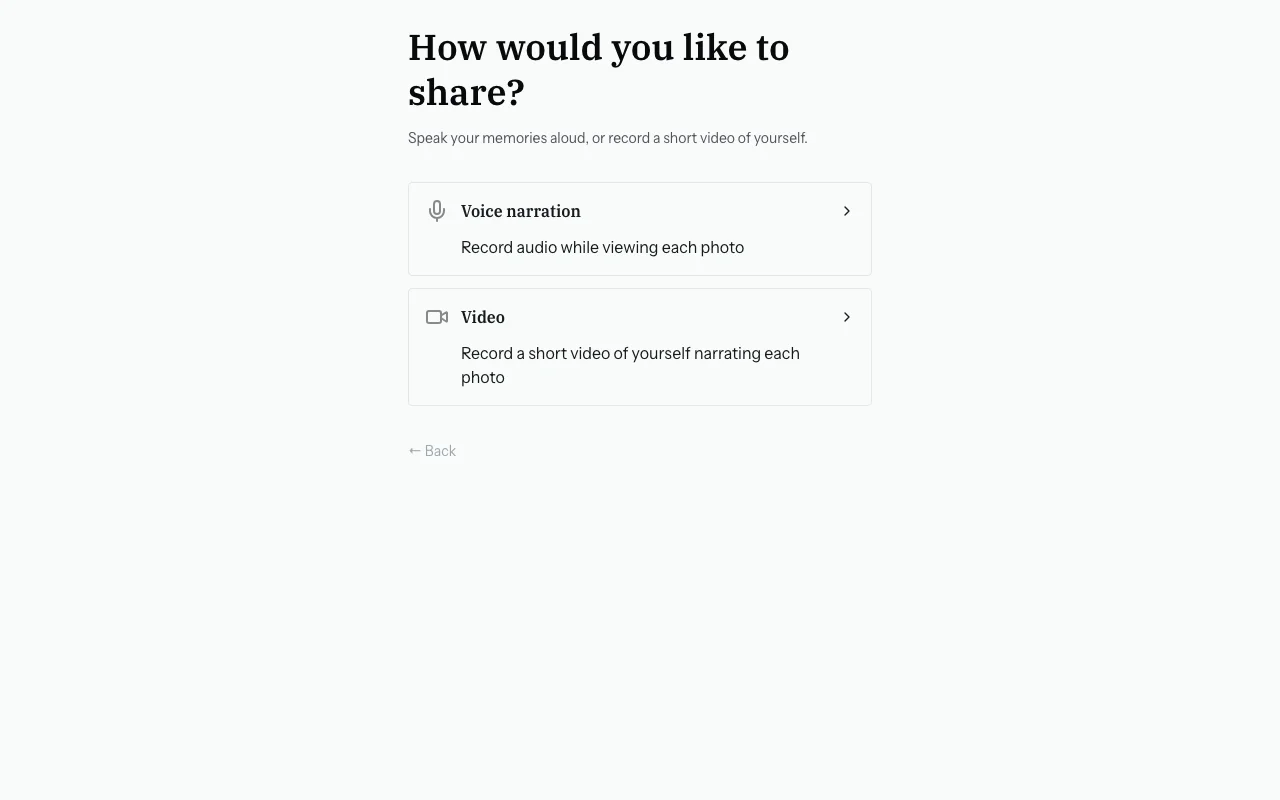
Step 2 — Choose "Voice Narration" on the Next Screen
A screen will appear with two options. Tap "Voice narration" (the microphone option). The other option, "Video," records your camera as well — see Recording Video Memories if you want that instead.
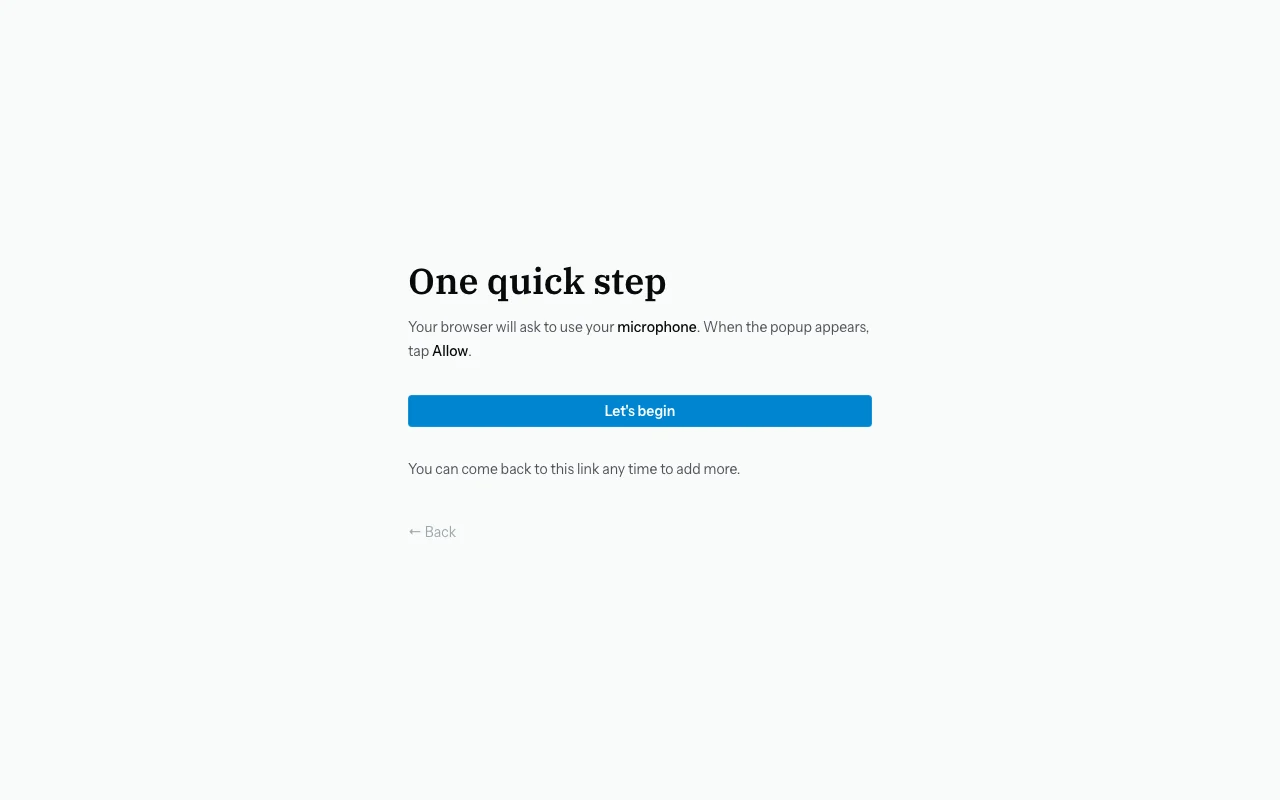
Step 3 — Allow Microphone Access
Your browser will ask: "zeuge.io wants to use your microphone." Tap Allow.
If you tapped "Block" by mistake: on most phones, tap the padlock icon in the address bar → Microphone → Allow. Then refresh the page.
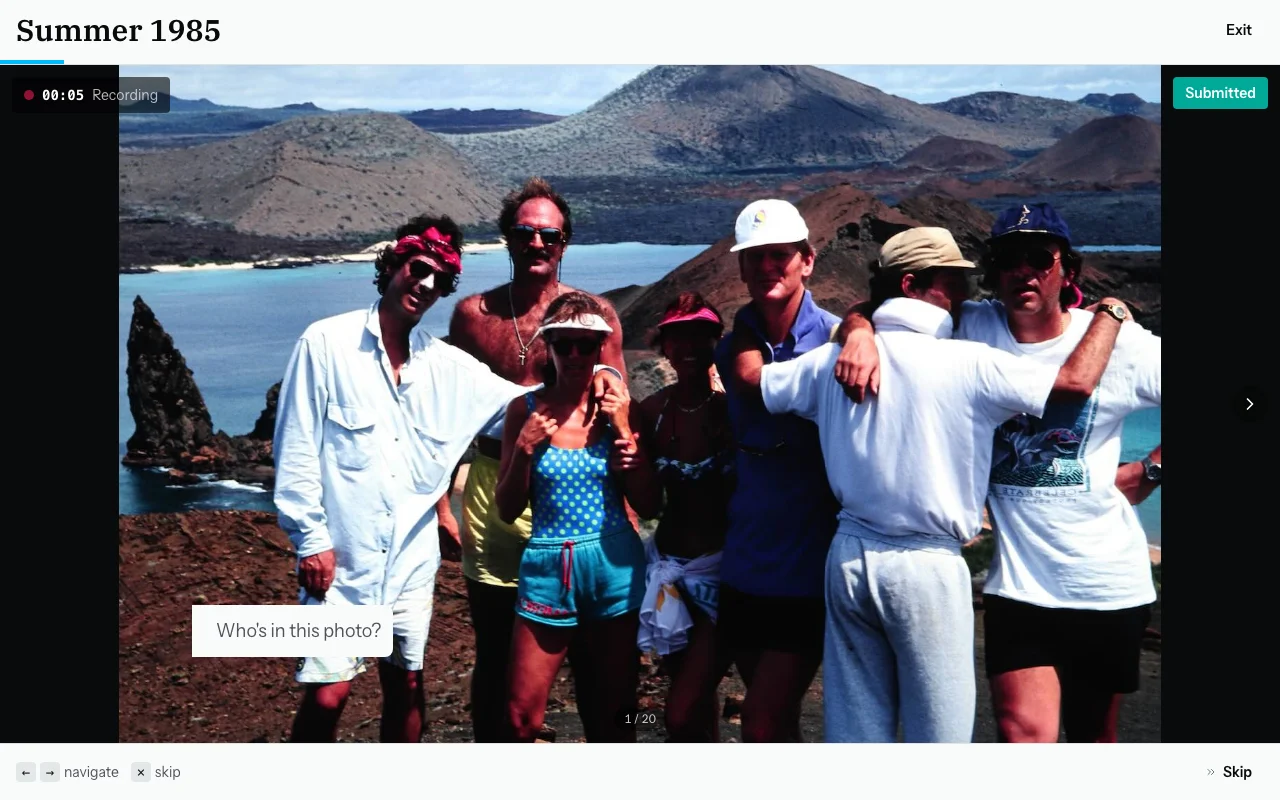
Step 4 — The Photo Carousel
You are now in the photo carousel. One large photo is shown at a time, with arrows to move left or right.
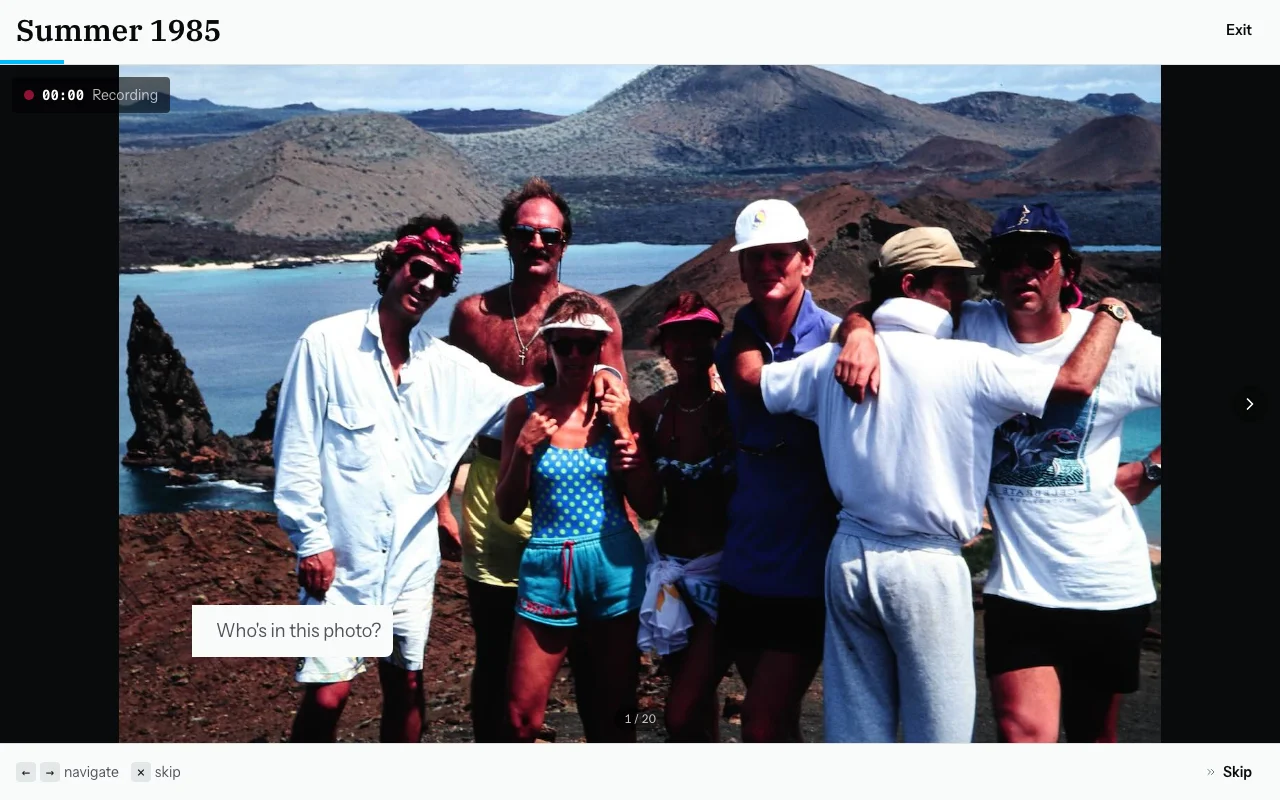
Step 5 — Record Your Memory
- Tap the record button at the bottom of the screen. You will see a waveform to confirm it is listening.
- Speak what you remember about the photo. For example:
"That's Aunt Dorothy, I think at the old house on Maple Street. Maybe 1967 or so. She always wore her hair like that."
- Tap the button again to stop. Your recording is saved.
Tips:
- Short phrases are fine — you do not need full sentences.
- Approximate dates and places are very helpful (e.g., "mid-1970s" or "the beach house").
- Skip a photo if you have nothing to say — just use the arrows to move on.
- You can go back and re-record any photo.
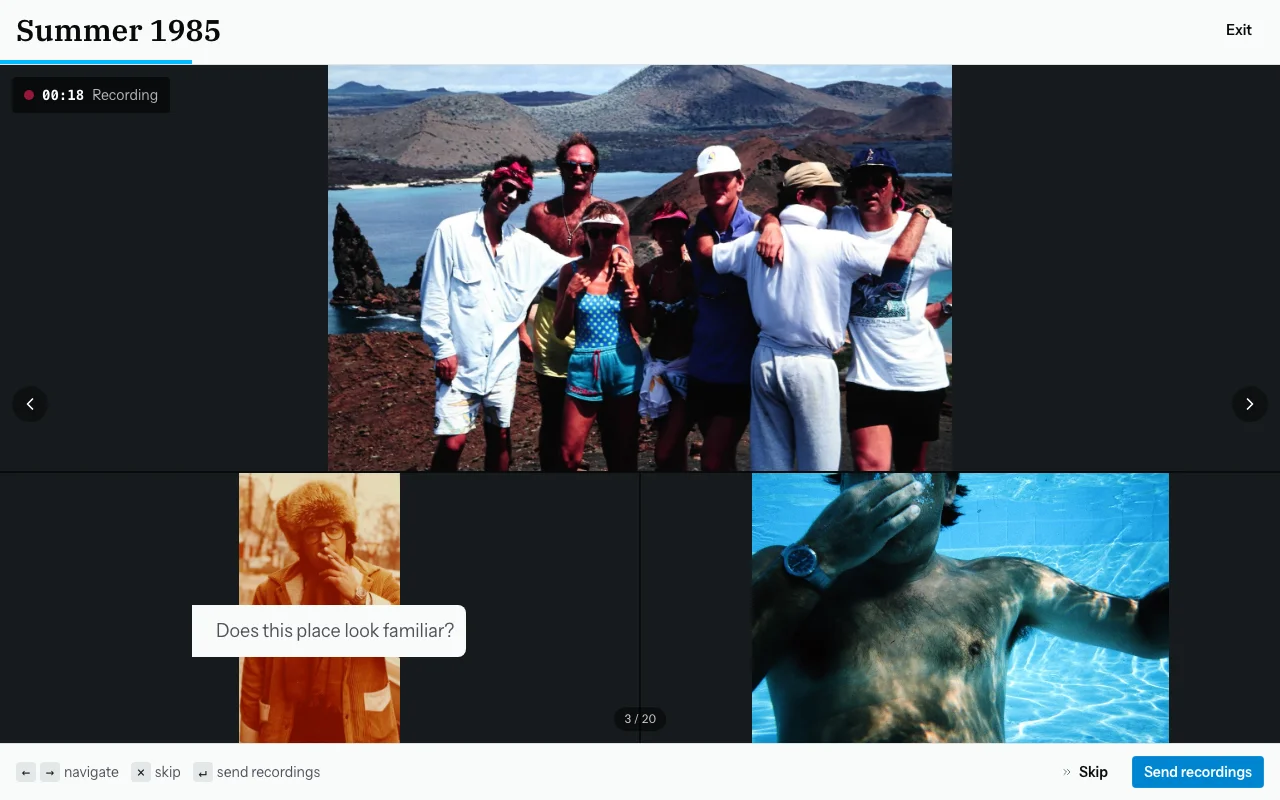
Step 6 — Move to the Next Photo
After recording, the carousel moves forward. You can also:
- Tap the right arrow (or press the Right Arrow key) to go to the next photo.
- Tap the left arrow (or press the Left Arrow key) to go back.
Photos you have already recorded show a green indicator.
Step 7 — Covering Several Photos at Once
If several photos are from the same event, you can record one memory for all of them:
- Hold Shift and tap the additional photos in the filmstrip.
- A badge shows how many photos are selected (e.g., "3 items").
- Record your memory — it will be linked to all selected photos.
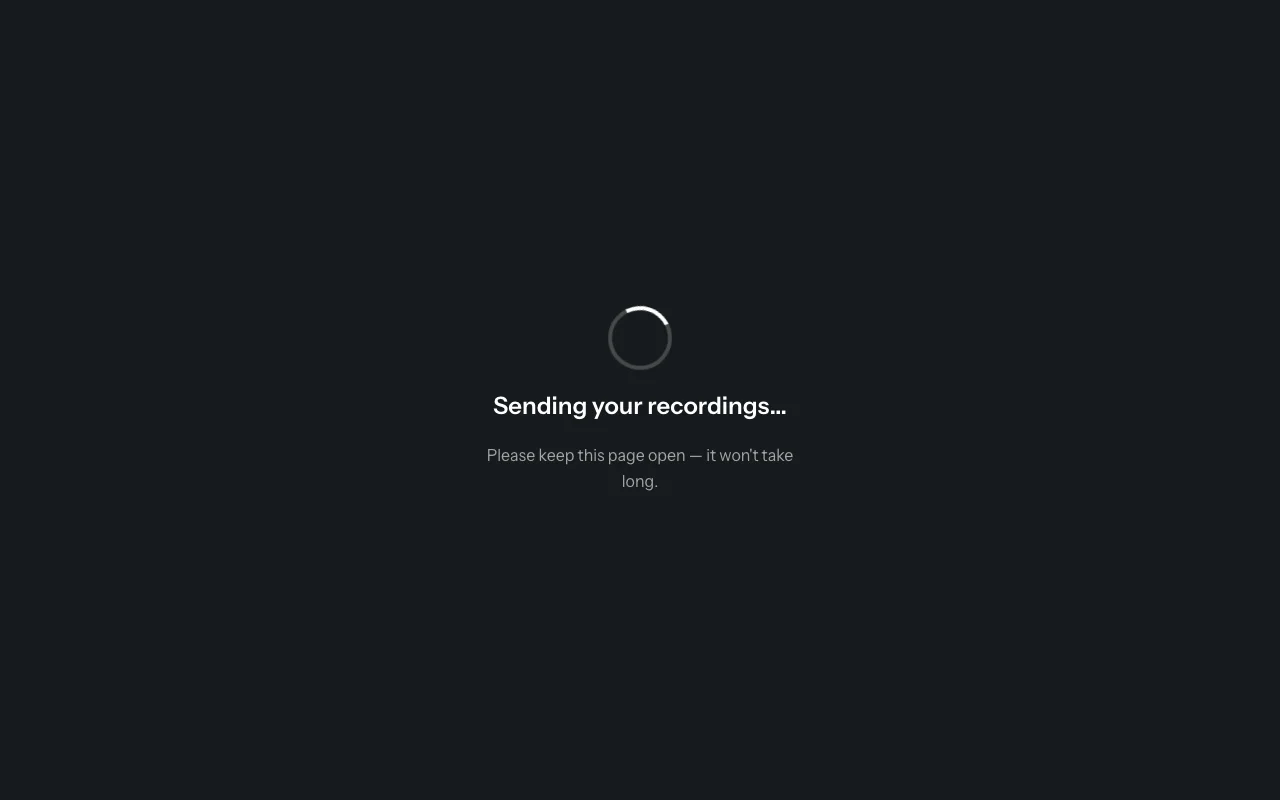
Step 8 — When You Are Done
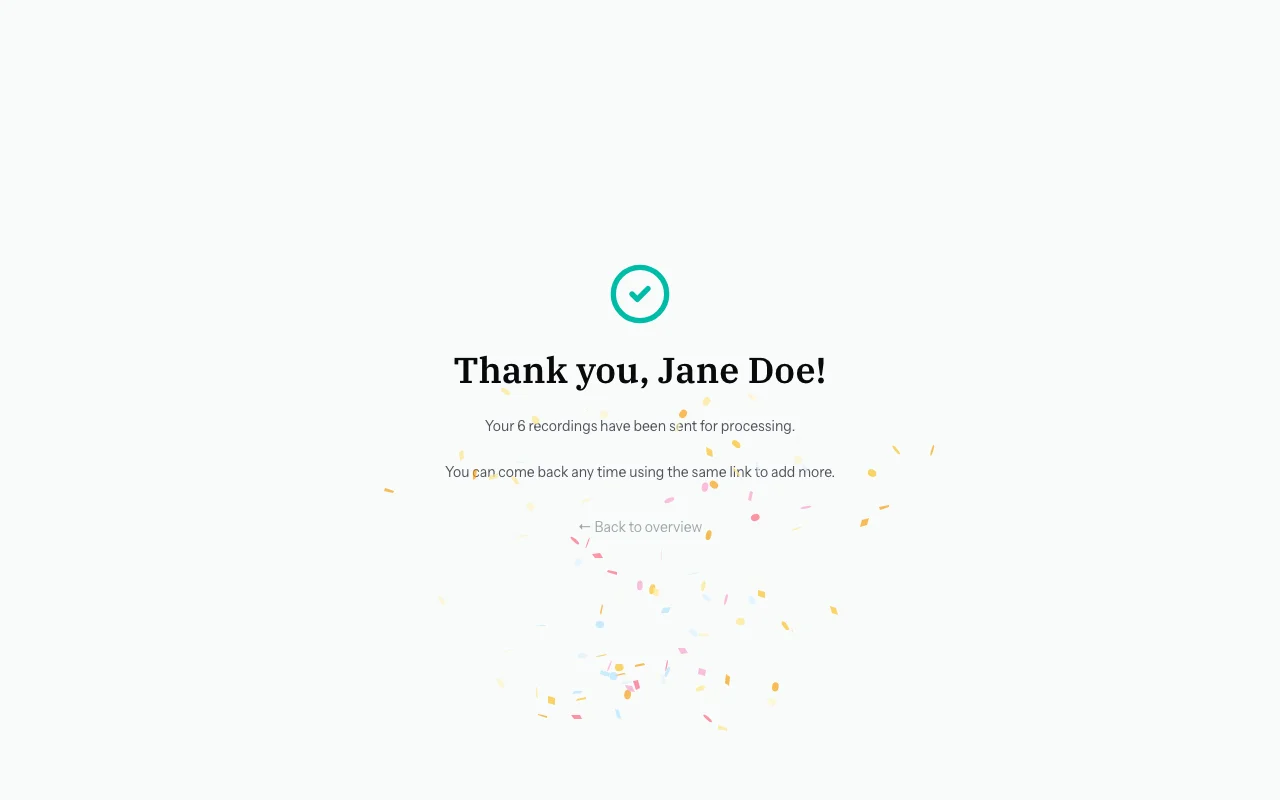
Tap "Done". A "Sending your recordings…" screen appears briefly while your recordings are uploaded.
Then you will see a thank-you screen with a count of how many memories you shared.
Common Questions
I pressed stop too soon. Can I record again?
Yes — navigate back to that photo and record again.
Can I listen to my recording?
Playback is not available in the contributor view. The organiser can listen on their end.
I closed the page while recording. Did I lose my work?
Recordings are saved as you go. Previously saved recordings are safe. If you closed mid-recording, that one clip may not have been saved, but everything else is fine.