How to Record Video Memories
Audience: Contributors — family members or friends invited to share memories about a photo collection using Video Narration.
Video narration is like voice narration, but the camera also records your face as you talk. Some families treasure this — future generations will see not just what you knew, but how you remembered it.
Before You Start
- You need a device with a front-facing camera — a smartphone or tablet works perfectly. Most laptops also work.
- You need to be in a reasonably well-lit place (more tips below).
- Your browser will ask for both microphone and camera permission — allow both.
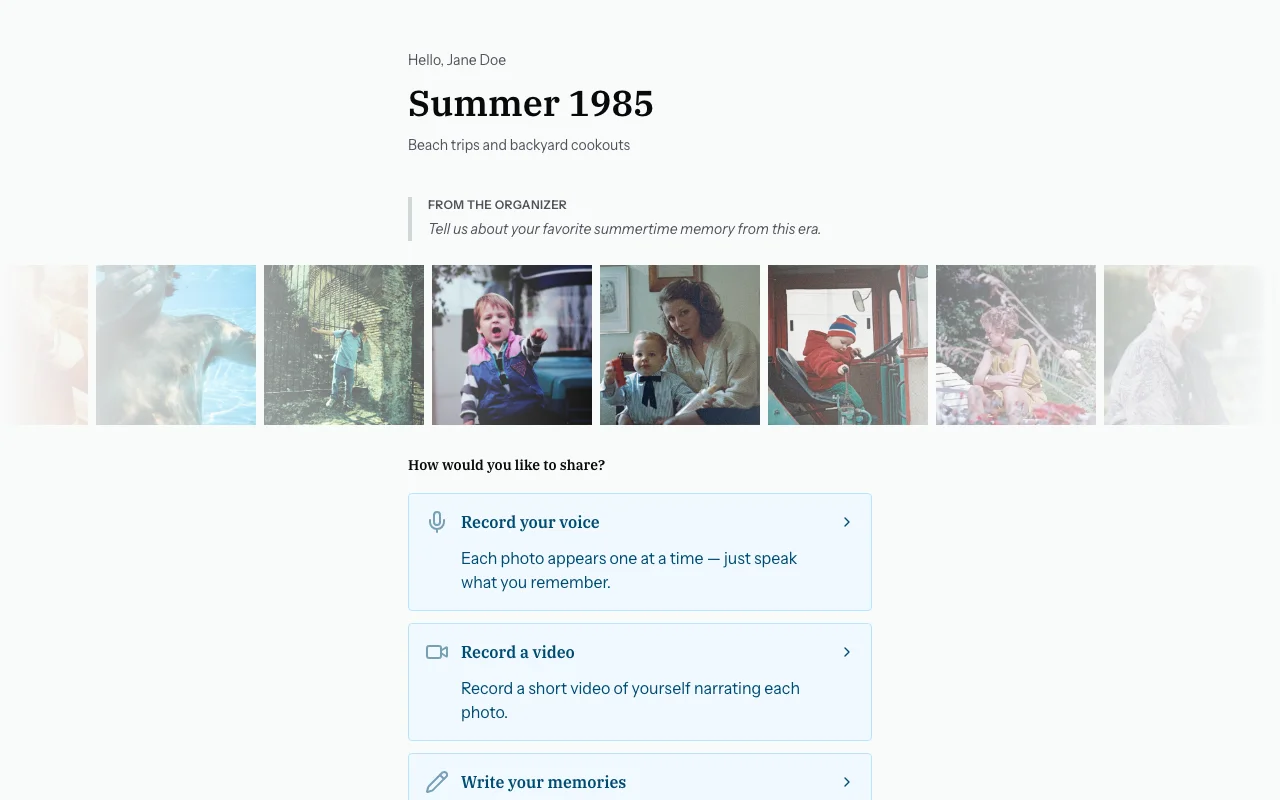
Step 1 — Tap "Voice Narration" on the Welcome Screen
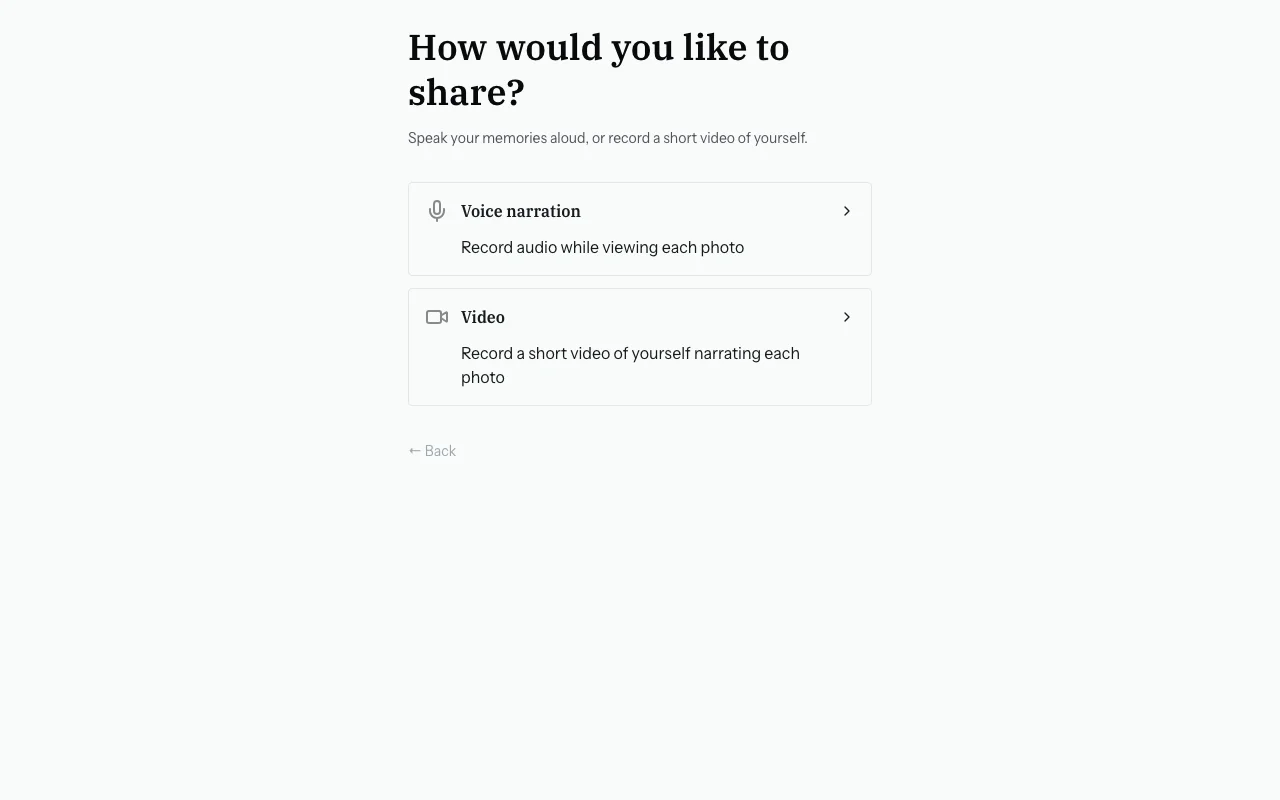
Step 2 — Choose "Video" on the Next Screen
A screen will appear with two options. Tap "Video" (the camera option).
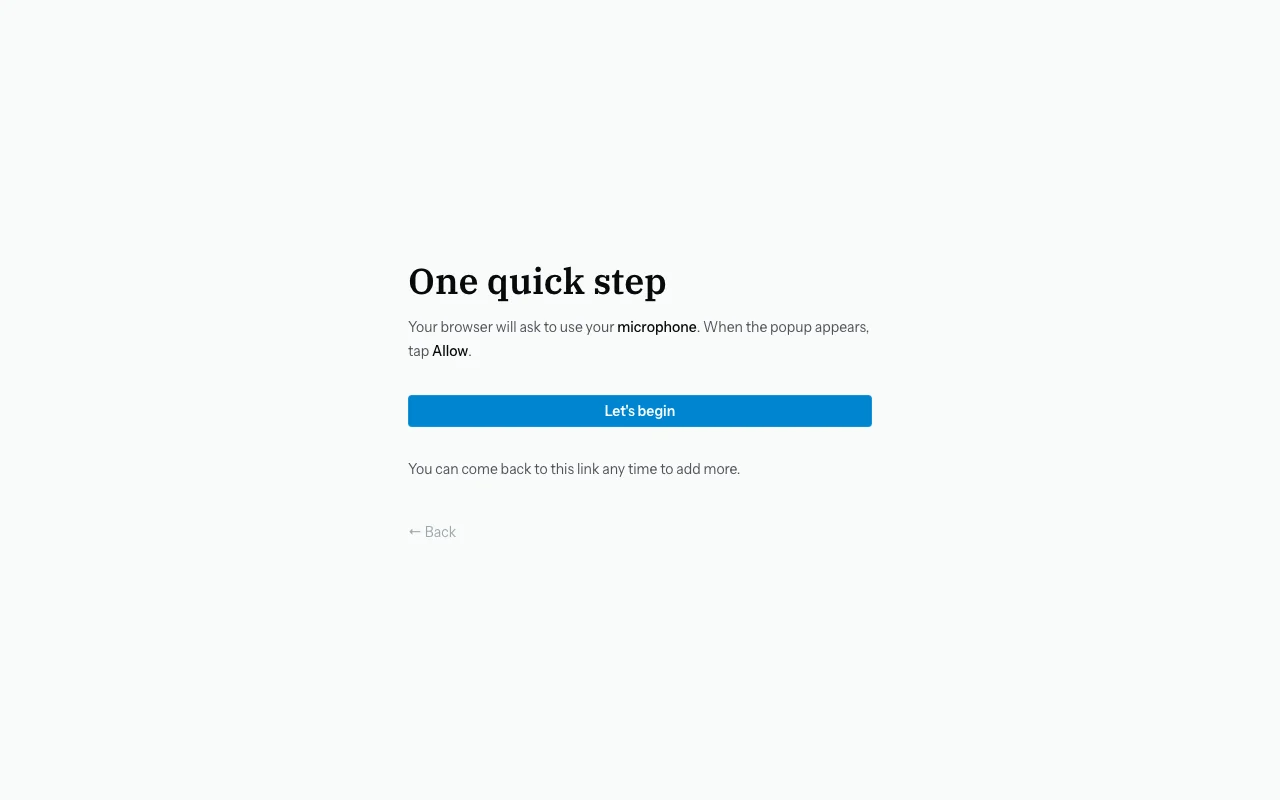
Step 3 — Allow Microphone Permission
Your browser will first ask for microphone access. Tap Allow.
Step 4 — Allow Camera Permission
A second prompt will ask for camera access: "zeuge.io wants to access your camera." Tap Allow.

If you denied either permission by mistake: tap the padlock icon in the address bar → tap Microphone or Camera → change to Allow → refresh the page.
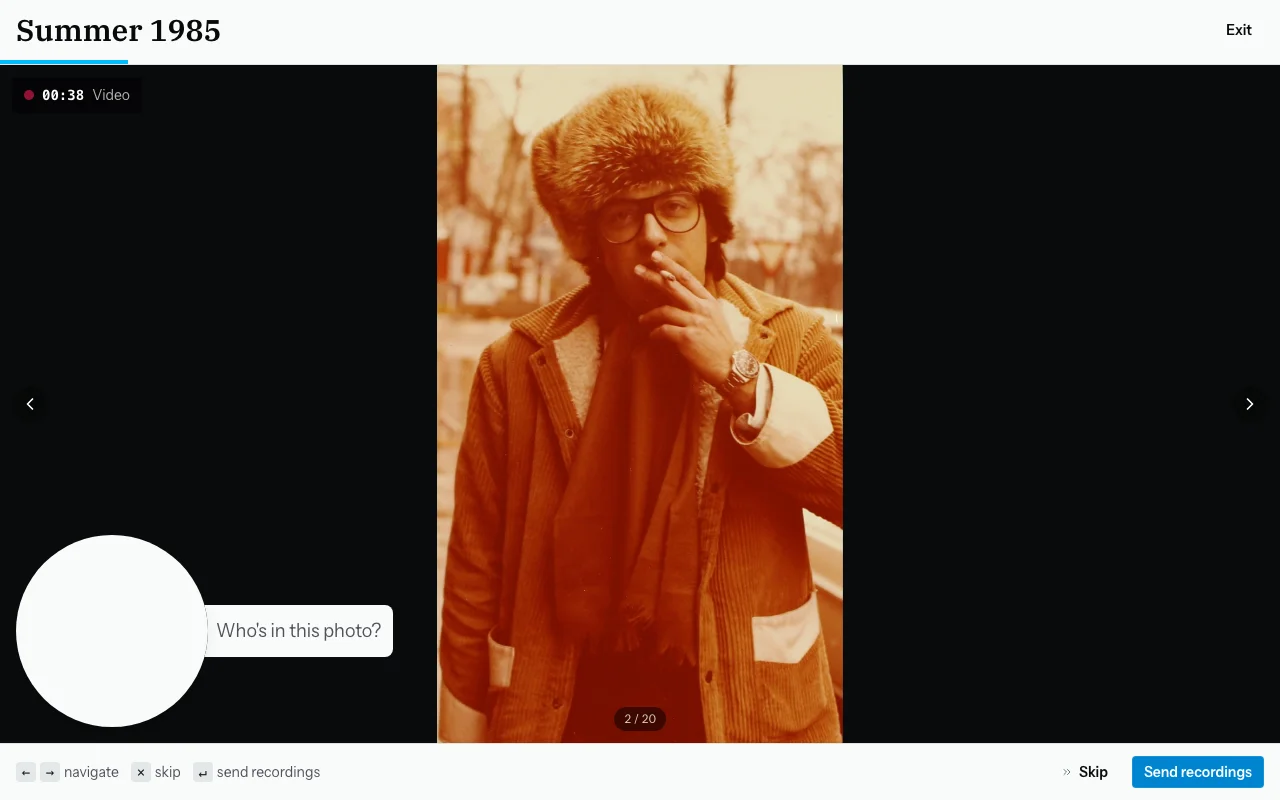
Step 5 — The Photo Carousel with Camera Preview
You are now in the photo carousel. It works exactly like voice narration, but you will also see a small camera preview showing your face.
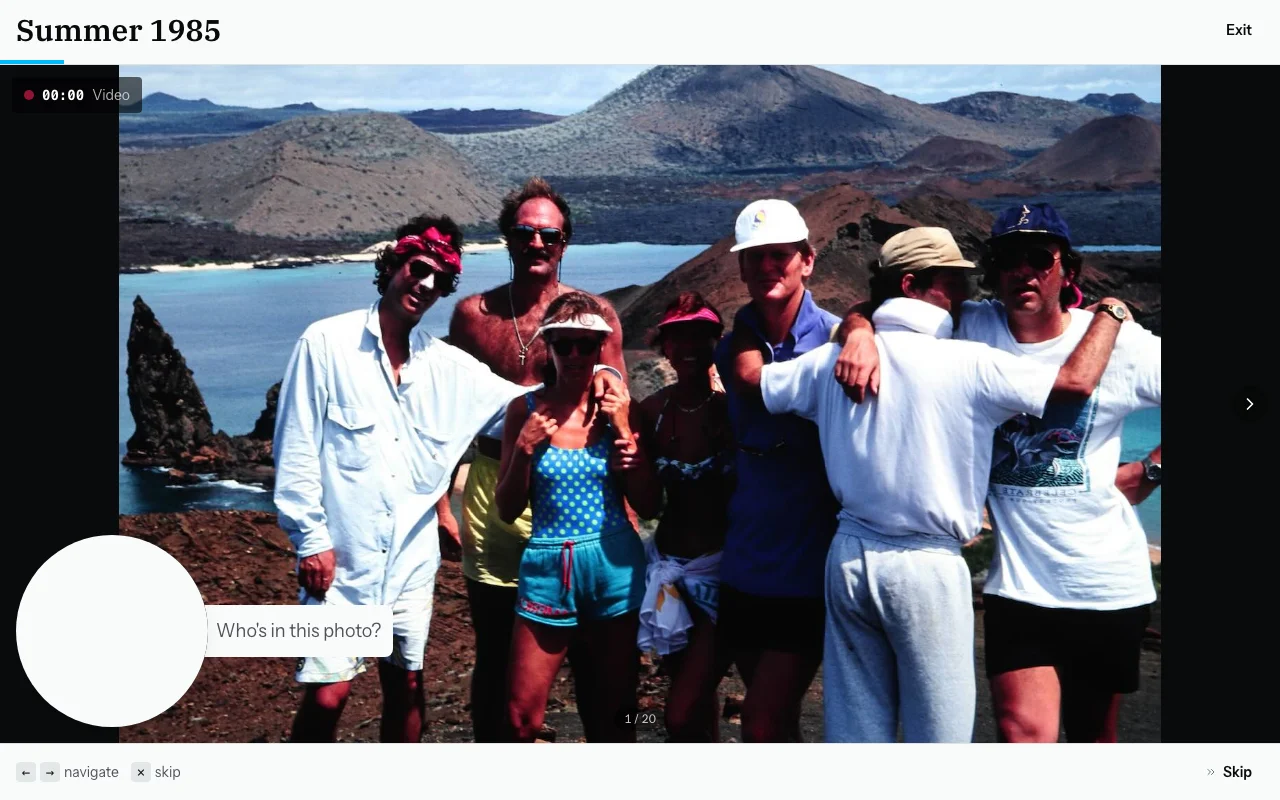
Step 6 — Record a Video Memory
- Tap the record button to start. You will see a recording indicator.
- Look at the camera and speak. You can glance at the photo next to the preview. Say whatever you remember.
- Tap the button again to stop. The clip is saved.
Lighting tips:
- Sit facing a window or lamp so your face is clearly visible.
- Do not sit with a bright window behind you — it will darken your face.
Length tip: 30–90 seconds per photo is plenty. There is no time limit.
Step 7 — Navigate the Carousel
Use the left and right arrows (or keyboard arrow keys) to move between photos.
Photos you have already recorded show a green indicator. Skip photos you do not recognise by simply moving past them.
Step 8 — Covering Several Photos at Once
If several photos are from the same event, hold Shift and tap the additional photos to select them. Record once — the clip will be linked to all selected photos.
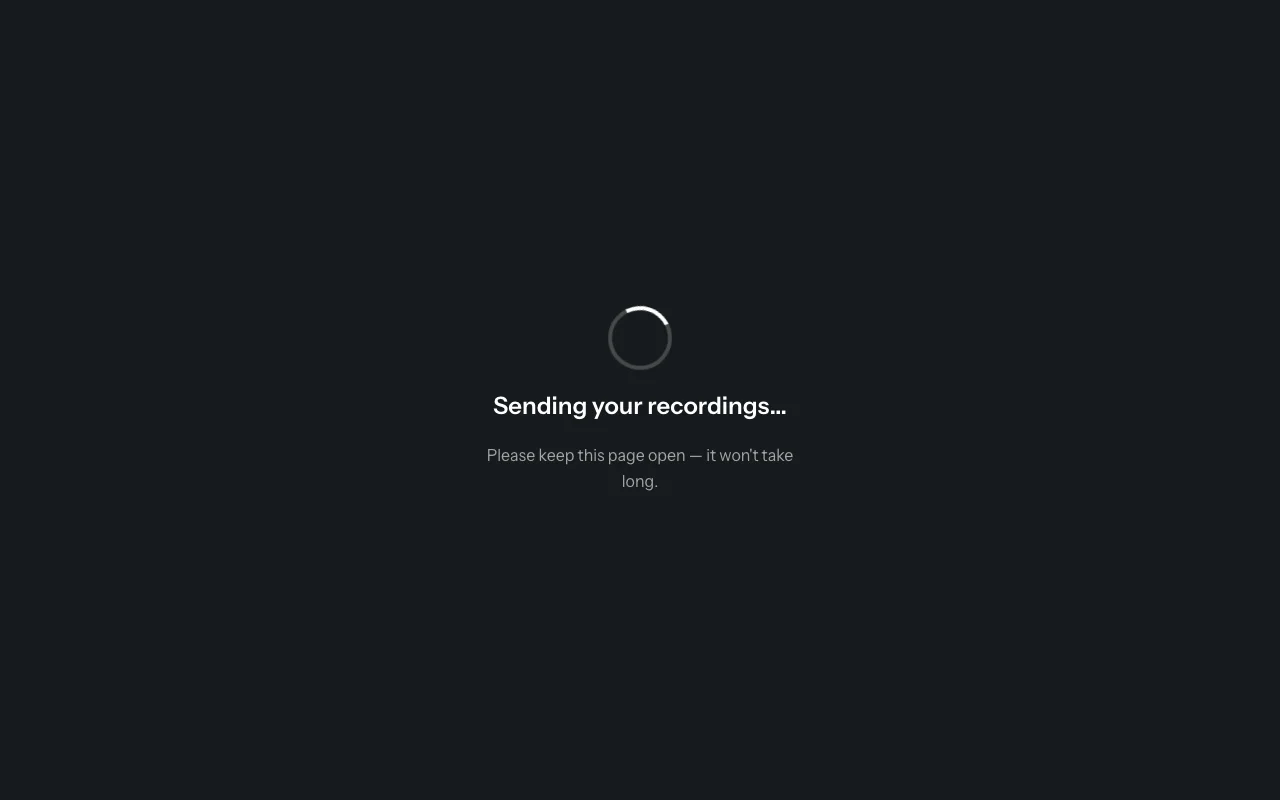
Step 9 — When You Are Done
Tap "Done". A "Sending your recordings…" screen appears briefly.
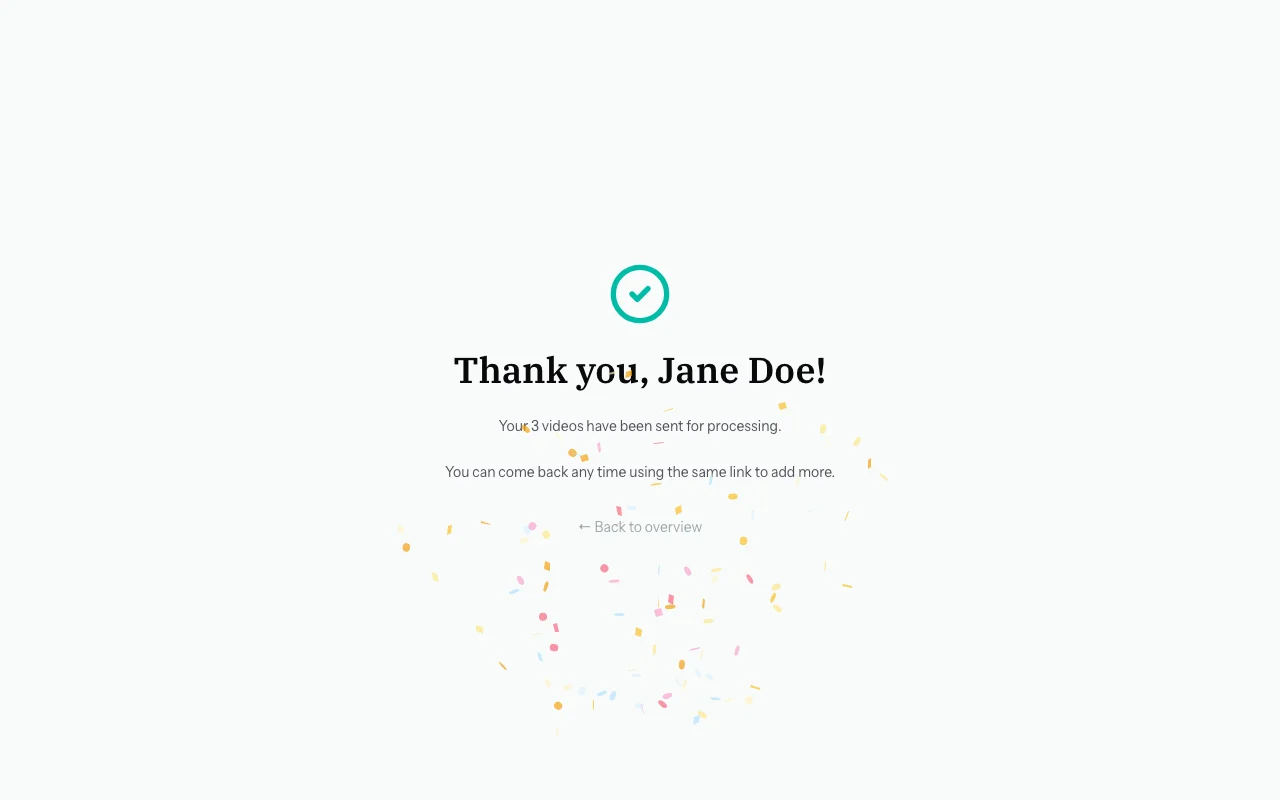
Then you will see a thank-you screen.
Common Questions
The video looks dark. What can I do?
Move to a better-lit area. Facing a window helps a lot.
The camera is not showing — what's wrong?
Your browser may have blocked camera access. Refresh the page and allow camera permission when prompted. If that does not help, try Chrome or Safari.
What happens to my video?
It is uploaded securely. Only the person who invited you can see it. Zeuge also extracts the audio automatically to create a written transcript.
Can I delete a video I recorded?
Once you have tapped "Done," the organiser manages the recordings. Contact the person who invited you if you would like something removed.